

Using the Faradite TAP range with Loxone
The Faradite TAP Volt Free switch plate range provides a volt free (dry contact) that pluses for the duration of the button press. This pulse acts as an input into the Loxone system and can then be utilised in Loxone config to provide a nearly endless range of functionality, we will look at the range of functions later in this blog.
There are a couple of choices of fly leads when using TAP Volt Free switches with Loxone. The Loxone Nano DI Tree option provides a fly lead that allows for rapid connection of all switch outputs into the Loxone Nano DI Tree device. The Loxone - Star (Inc 1-wire) is intended for Loxone systems that are star wired back to a central location. This fly lead option has terminals for connection to cat cables and a 1-wire chip means temperature sensing can be achieved by connecting to the Loxone 1-wire extension.
Wiring the TAP Range
There are multiple ways in which the TAP range of switches can be wired in to the Loxone system, but essentially the TAP Volt Free range uses 1 digital input per button. Suitable Loxone devices that have 24V digital inputs include the Miniserver, Extension, Dimmer Extension, DI Extension and Nano DI Tree.
If you wish to use the digital inputs on the Nano IO Air please contact Faradite customer support on info@faradite.com.
To use the inputs on the Miniserver, Extension, Dimmer Extension, DI Extension you must wire in a star topology, and to use the inputs of the Nano DI Tree you must wire in a tree topology. The diagram below shows the difference between a star and tree topology.


When using Loxone Tree wiring on a project, connect the Loxone Nano DI Tree device to the tree bus as normal. Use the Faradite FLY-LOXO1 fly lead to connect to the orange and orange/white wago terminals for powering the TAP Volt Free switch. Next connect one end of the Faradite fly lead to the Nano DI tree and the other end to the back of the Faradite Volt Free Coupler.

When using the Faradite TAP Volt Free range with a star wired Loxone system terminate the Cat cable into the terminals that are on the Faradite FLY-LOXO2. If you are using 1-wire make sure the terminations are correct at the 1-wire extension as shown below. Finally connect the fly leads from the Faradite fly lead PCB to the back of the TAP Volt Free coupler.

The TAP-5 is numbered as per the picture below.

The temperature sensors included in FLY-LOXO2 variation are 1-Wire sensors and therefore are wired back to the Loxone 1-Wire extension. This requires some careful consideration when wiring as often a single CAT cable will have some cores wired to volt free inputs, some wired back to the 1-Wire extension and some cores used for the 24V DC supply to the switch. Accidentally connecting 24V to the 1-Wire sensor will most likely cause irreparable damage to the 1-Wire sensor, so be careful.
Configuring the TAP switches in Loxone Config tool
We start by identifying the digital inputs in the Loxone periphery tree that we have the TAP-5 switch connected to. Make sure each input is named correctly to avoid any confusion when returning to the config at a later date or if we need to make any amendments. In this example we have wired a TAP-5 back to inputs 4 -8 of the Miniserver. Category and room can be set for each input also.

As we mentioned previously, there are almost endless possibilities with the TAP switches functionality once connected to Loxone. In this blog we are going to give 3 common switch configuration examples and show how these are achieved in Loxone config.
Switch Example 1

To achieve this functionality, we need to take the volt free connected to BUTTON 3 (middle button) and attach it to the lighting controller for the room. As we want this button to provide scene scroll so we attach it to the ‘+’ input on the lighting controller function block. This will also turn off all lights with a double tap of the middle button of the TAP-5.
To achieve the shading functionality, we take the BUTTON 1 volt free input and connect it to the rooms ‘Automatic Blinds’ function block 'Cu’ input, we then connect BUTTON 4 to the 'Cd’ input on the same function block.
The right hand side switch buttons are dedicated to music control in the room so we take BUTTON 2 and connect it to the ‘V+’ button on the ‘Music Server zone’ function block as we are using the Loxone Music Server in this example. We then take BUTTON 5 and connect it to the ‘V-’ input on the function block. This will also provide the double tap functions the Music Server Zone function block provides.

Switch Example 2

In this switch example the middle button and the left hand side of the switch (BUTTON 1 and 4) are configured in the same way as in example 1. However, in this example we want to have specific scenes triggered from BUTTONS 2 and 5. To do this we connect BUTTON 2 and BUTTON 5 to the ‘T5/1’ and ‘T5/2’ function block inputs. A tap on these switch areas will now discretely trigger scene 1 and 2 respectively – further presses on this button will continue scene scrolling. In this blog we take a detailed look at integrating the Faradite TAP switch plate range with Loxone.

Switch Example 3

In this example we keep the middle button as the lighting scene scroll functions but each of the 4 outer buttons become control for the Sonos music system. To achieve this we can find the Sonos controls as predefined commands in Loxone config under virtual outputs in the periphery tree. We can then grab these and add them to the Config and connect them directly to BUTTON 1,2,4 & 5.

As we explained earlier in the blog, the FLY-LOXO2 variation includes a 1-Wire temperature sensor and as such is wired to a 1-Wire extension in the Loxone system. After completing a 1-Wire device search and finding the correct 1-Wire sensors they will appear under the 1-Wire extension in the periphery tree. We can then take the relevant temperature sensor and connect it to the function block that looks after the temperature regulation in the appropriate room.

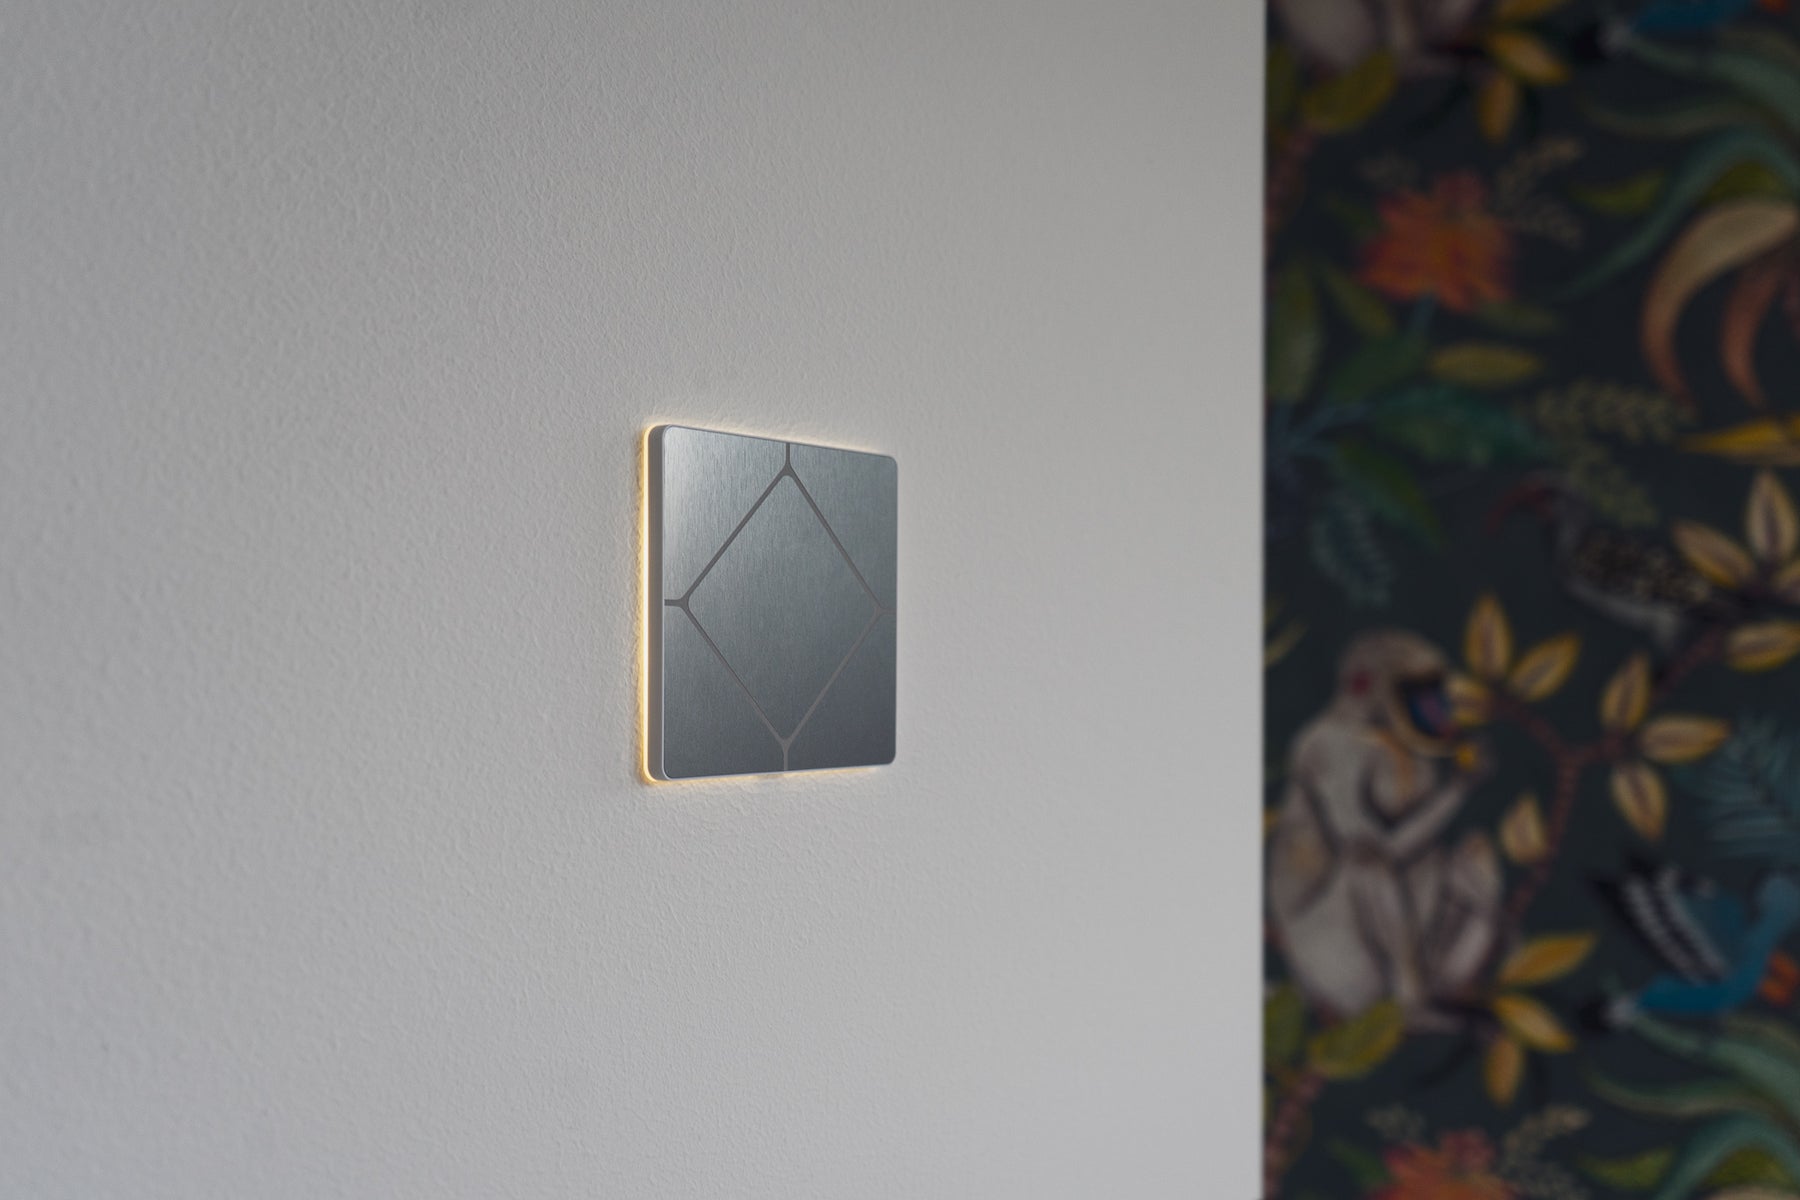
To make sure users have simple interaction with their smart home we have a custom engraving option where keypads can be beautifully engraved with custom text or icons. This allows users to mark the switch functionality without detracting from the aesthetic of the switch plate. Simply click on "Customize" on the product page to configure.
We would love to see examples of your configurations with the Faradite TAP Volt Free switches.
Why not share an Instagram story @faradite with us of what you have achieved with your TAP Volt Free switches…?
The Faradite Team