

Using the TAP Volt Free with Lutron
The TAP Volt Free switch range has volt free, otherwise known as dry contact or potential free outputs. The outputs are triggered on each press of the front buttons and remain closed for as long as the button is pressed, essentially performing exactly as a momentary / retractive mechanical switch would.
The TAP-5 switch gives a 5 gang switch plate option for the ultimate control of room functions.
Wiring the TAP switches
We have created a fly lead option which connects directly to the Lutron QSE-CI-WCI wallbox closure interface. First, make sure the Lutron bus power is off, now we can start connecting the TAP switch to the Lutron QSE-CI-WCI puck. Connect the loose red and black fly leads to the Lutron bus power to provide the TAP switch with power. Next push the connector into the terminal on the QSE-CI-WCI.
Please note - the loose grey and black fly leads are spare inputs to the QSE-CI-WCI which could be used to connect for example a Faradite Motion Sensor 360 - Volt Free (dry contact) to. If you are not using them they can be left spare in the back box behind the switch.
Connect the other end of the fly lead to the Faradite TAP Volt Free coupler. The device is now connected and all 6 of the TAP outputs are connected to inputs 1-6 of the Lutron QSE-CI-WCI respectively.
The DIP switches on the QSE-CI-WCI should both be on the on position to accommodate the momentary inputs from the TAP switch going ‘high’ when pressed. These DIP switches should be in this position as default.

Commissioning the TAP Switches
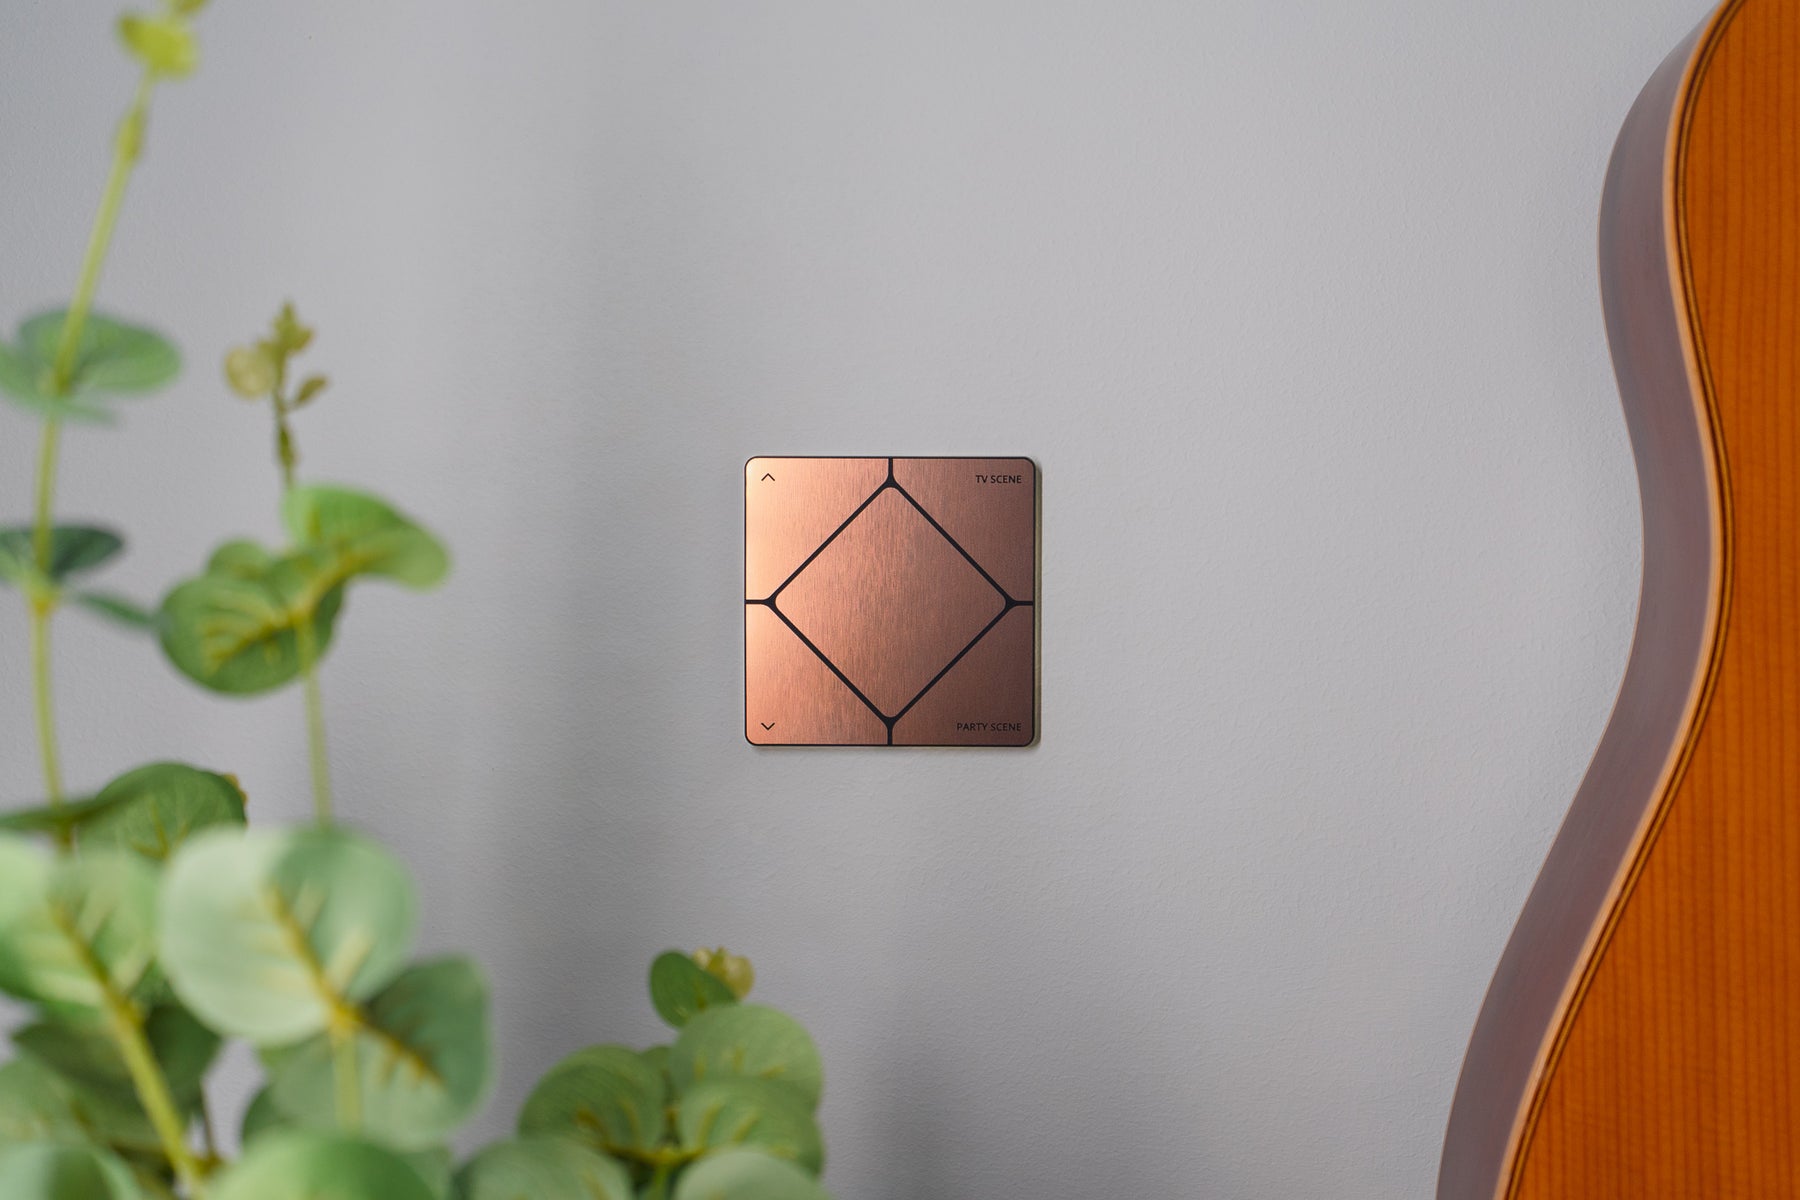
The TAP switches perform as a momentary mechanical switch would. For each button press the corresponding output contact is closed for the duration of the press. The buttons on the TAP-5 switch are numbered as follows:

The presses are detected at the inputs on the Lutron QSE-CI-WCI and can now be commissioned in the Lutron system to perform whichever operation the installation requires.
We advise keeping the button functionality consistent through the home. For example, controlling lights on the middle button, shades on left hand buttons and light scenes on the right hand buttons in each room of the project. This makes the user experience consistent and ensures they quickly get comfortable with the switch use. You can of course use our switch engraving service to neatly label buttons so your customer can easily understand every switch option.
If you have any questions please contact the Faradite team today.